

Many wanderlust souls capture stunning photographs during their travels, but editing them to perfection can elevate those snapshots from delightful to dazzling. In this step-by-step guide, I’ll walk you through the process of transforming your travel photos into eye-catching masterpieces. Whether you’re a novice or a seasoned pro, these tips and tricks will help you enhance your images and bring out the true beauty of your adventures. Get ready to add that extra oomph to your travel memories!
Before You Dive In: Understanding the Basics
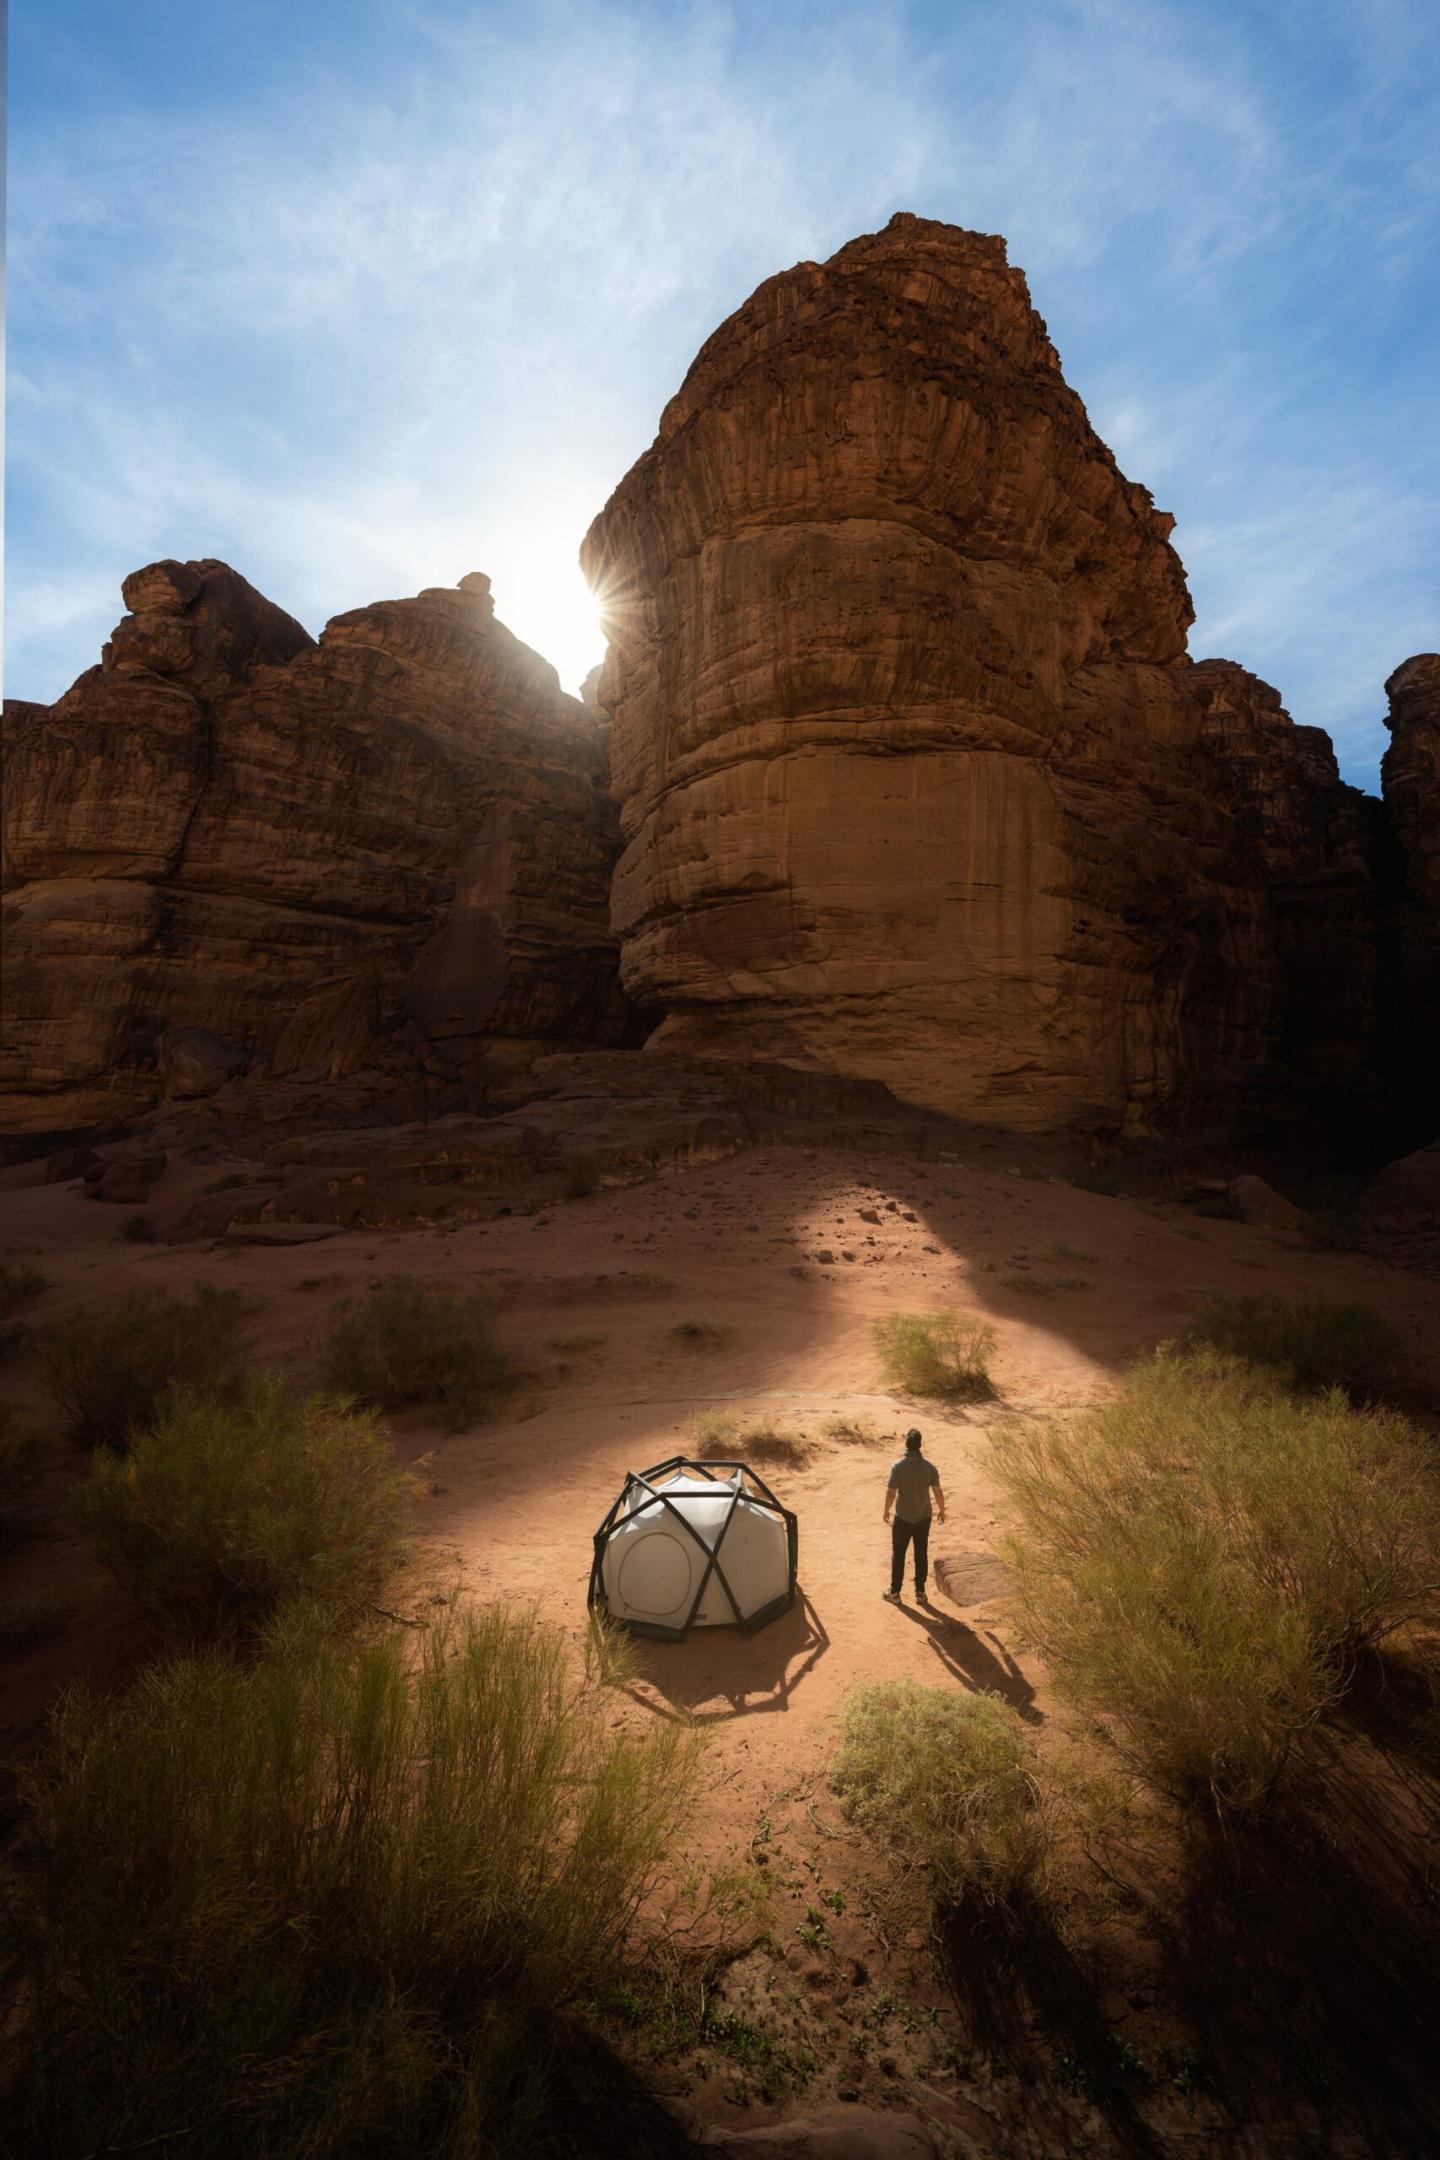
Tips for the Perfect Shot Before the Edit
Before you start adjusting exposure and hues, make sure you nail the perfect shot. Do not forget, the better the original, the easier the editing process. So, keep these tips in mind:
- Pay attention to lighting and composition.
- Experiment with different angles and perspectives.
- Focus on capturing the smallest details.
The key to a stunning edit? A great starting point, of course!
Essential Factors That Influence Your Editing Process
With editing, there are some key factors that can significantly impact your creative process. Do not forget, it’s not just about the software you use, it’s about how you use it. Consider the following:
- Lighting conditions when the photo was taken.
- Camera settings used to capture the image.
- Subject matter and colours present in the photo.
This knowledge will help you tailor your editing approach to each specific photo, resulting in a more polished final product.
The How-To of Editing: Tools of the Trade
Software Selection: Picking Your Digital Darkroom
Picking the right software for editing your travel photos is necessary. From Adobe Lightroom to Capture One, there are plenty of options out there. Consider your editing needs, budget, and ease of use when making your choice. Note, the best tool is one you feel comfortable with and can produce stunning results.
Getting Your Feet Wet: Basic Adjustments
Little tweaks can make a big difference in your travel photos. Start by adjusting the exposure, contrast, and white balance. Don’t be afraid to experiment with the settings and see what works best for each photo. Basic adjustments lay the foundation for more advanced edits later on.
Advanced Editing Techniques: Crafting Your Masterpiece
- Fine-Tuning Colors for Vivid Memories
- The Art of Cropping and Composition
Memories: Fine-Tuning Colors for Vivid Memories
All memories deserve a touch of vividness when it comes to travel photos. To make those blues bluer and greens greener, play around with the saturation and vibrance settings. Don’t be afraid to experiment until you achieve the perfect balance of colours that brings your memories to life.
Crafting: The Art of Cropping and Composition
Crafting the perfect composition in your travel photos is like putting together a puzzle – you need to find the right balance and arrangement of elements that tell a compelling story. Remember the rule of thirds, leading lines, and symmetry to guide the viewer’s eye through your masterpiece. Don’t be afraid to crop out distractions and focus on the key elements that make your photo pop.
Sharing Your Journey: Exporting and Posting Tips
Your travel photos are ready to be shared with the world! But before you hit that ‘post’ button, make sure you follow these tips to ensure your masterpiece looks its best online.
Tips for Saving and Choosing the Right Format
Saving your photos in the correct format can make a world of difference when it comes to showcasing them online. Here are some tips to help you save and choose the best format for your travel photos:
- Save your photos in high quality to preserve all the details.
- Choose a common format like JPEG for easy sharing and viewing.
- Assume that not everyone has the latest software to open fancy formats.
The Best Practices for Showcasing Your Photos Online
Your photos are a reflection of your amazing travel experiences, so make sure they are displayed in the best light online. Follow these best practices to showcase your photos online like a pro.
- Optimise your photos for web by resizing and compressing them without losing quality.
- Use a clean and simple layout to let your photos shine without distractions.
- Assume that viewers have a short attention span, so make sure your photos are captivating.
Final Words
Following this step-by-step guide to editing travel photos will ensure that your memories are beautifully captured and ready to be shared with the world. Remember to embrace your creativity and don’t be afraid to experiment with different editing techniques to make your photos truly unique. So, grab your camera, venture out into the world, and let your editing skills shine through in your stunning travel snapshots!


